
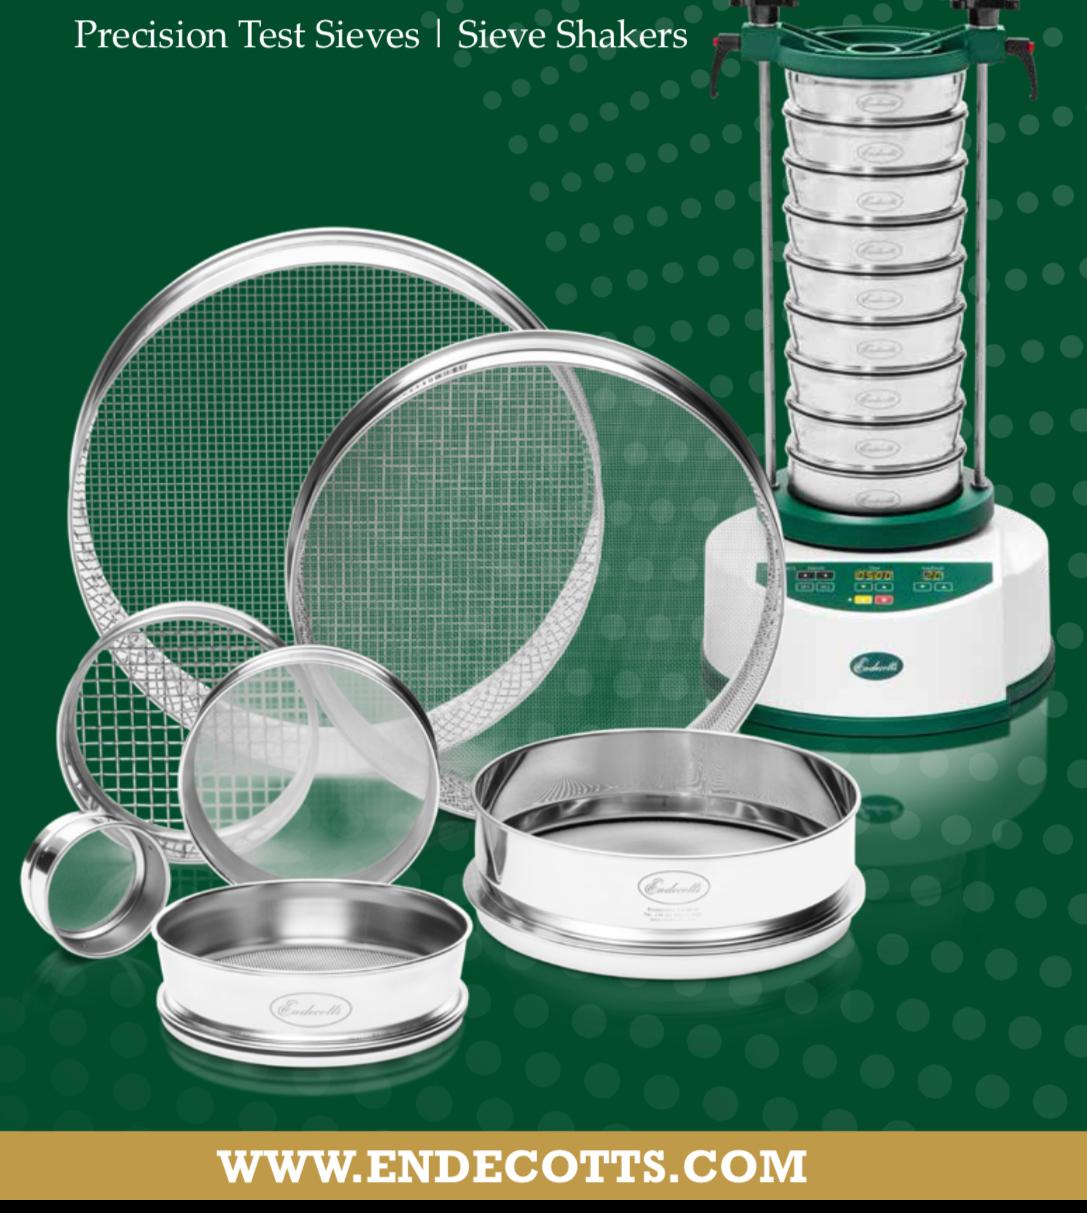
Test Sieving Guide:
Sieve Selection and Sample Preparation
Test sieving is one of the most practical ways to evaluate particle size distribution in powders, granules, crystals, aggregates and other solid samples. When the sieve set, sample amount and sieving method are selected correctly, laboratory quality control becomes more repeatable and easier to document.
This guide summarizes the key points behind sieve selection, sample preparation, dry sieving, wet sieving, data interpretation, cleaning and calibration for routine laboratory use.
What is test sieving?
A test sieve separates particles by size through a defined aperture. The sample passes through a stack of sieves arranged from coarse to fine. The material retained on each sieve and the fines collected in the pan are weighed to calculate the particle size distribution.
The method is widely used in chemical, pharmaceutical, food, mining, construction materials, cement, aggregate, metallurgy and general quality control laboratories because it is straightforward, versatile and allows separated fractions to be inspected afterwards.
How to choose the right test sieve
Choosing a sieve is more than selecting one aperture size. Reliable results depend on aperture range, frame diameter, sieving medium, standards compliance, sample volume and particle behavior.
- Aperture range: Select the top and bottom sieves around the expected particle range, then choose intermediate sieves from a consistent series.
- Standards compliance: Test sieves manufactured to ISO 3310, ISO 565 or ASTM E11 support traceability and comparable results.
- Frame diameter: 200 mm sieves are common in laboratories; larger frames may be needed for coarse particles or higher sample volumes.
- Sieving medium: Woven wire cloth is common for fine and medium ranges, perforated plate is useful for coarse sieving, and micro sieves support very fine classification.
- Material compatibility: Stainless steel sieves are often preferred for abrasive, hygroscopic or potentially corrosive samples.
Sample preparation directly affects the result
Even the best sieve shaker cannot correct a non-representative sample. Sampling and splitting should therefore be treated as part of the measurement, not as a separate admin step.
- Collect a gross sample that represents the full lot, then prepare a laboratory sample and final test sample under controlled conditions.
- Consider segregation: coarse and fine particles can separate during handling, transport or storage.
- Use a riffle splitter or an appropriate coning and quartering approach when reducing sample size.
- Dry damp samples only under conditions that do not change their physical properties.
- Avoid overloading the sieve surface; split the sample into several charges when needed.
Dry sieving or wet sieving?
Dry sieving is suitable for many free-flowing powders and granules. When a mechanical sieve shaker is used, record the machine type, motion and sieving time so the result can be reproduced.
Wet sieving can help when fine particles blind the mesh, electrostatic charge affects movement, the sample is already in liquid form, or fines tend to agglomerate. The sieving liquid must disperse the particles without dissolving, reacting with or damaging them.
How to interpret sieve analysis data
After sieving, the retained mass on each sieve and the fines in the pan are weighed. Results are usually reported in two complementary ways:
- Fractional distribution: Shows how much material is retained within each sieve interval.
- Cumulative distribution: Shows the total percentage smaller or larger than a selected aperture, which is useful for product specifications.
For dependable reporting, record sample mass, sieve set, test duration, equipment type, moisture condition and any material loss. These details make results easier to compare over time.
Common test sieving mistakes
| Risk Effect on results Recommendation | ||
| Overloading the sieve | Fines cannot pass efficiently and the sample appears coarser. | Reduce sample mass or sieve several charges. |
| Blinded apertures | Sieving rate drops and the end point becomes unreliable. | Use proper cleaning, wet sieving or a guard sieve. |
| Random sieve selection | Tables and graphs become harder to interpret. | Choose intermediate sieves from a consistent standard series. |
| Incomplete records | Results cannot be reproduced or compared confidently. | Record duration, shaker type, standard, mass and moisture condition. |
Cleaning, maintenance and calibration
A test sieve is a measuring instrument. It should be cleaned after each analysis, stored dry, inspected for damage and checked at suitable intervals based on use and sample abrasiveness.
For quality systems, documented inspections, master sieve comparison, reference sample checks and calibrated sieves help protect traceability and measurement confidence.
Ask Us: Choose the right sieve set for your laboratory
Particle size, density, moisture, target standard and testing frequency all influence the right equipment choice. WeLab can help you select test sieves, sieve shakers, sample splitters and preparation workflows for your laboratory.
Ask our team and let us plan the right test sieving setup for your sample.